編者按 港式蛋塔在香港人的讀法是「港式蛋撻」。
港式蛋塔又稱廣式蛋塔,20 世紀初起源於中國廣州,最初是由英式水果塔改良製作。1927 年,廣州的「眞光酒樓」首先推出蛋塔,一時之間造成轟動,所以其他酒樓餐廳的師傅也爭相學習蛋塔的製作,成為廣式茶點的必點食品。
40 年代隨著大量廣州移民移居至香港,也將蛋塔帶到了香港及澳門,經過再次改良,就變成了現在香港獨有的「港式蛋塔」,這才讓蛋塔發揚光大。
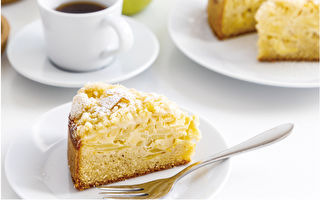
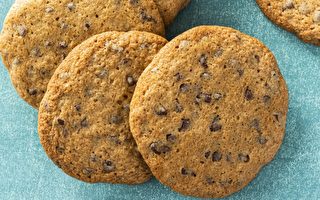
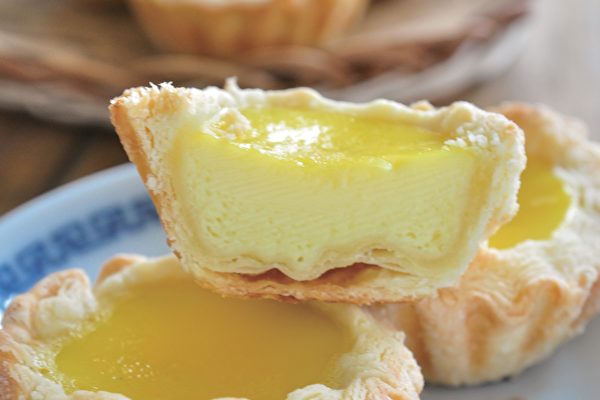
港式蛋塔的塔皮製作方式有兩種,一種是餅乾塔皮(Cookie crust),製作方式較簡易,口感扎實酥脆,在香港也稱為「曲奇蛋塔」。另一種是中式酥皮塔皮,由油皮及油酥兩種麵團組合再反覆擀壓,此款做法成品層次分明,吃起來口感酥鬆不油不膩。
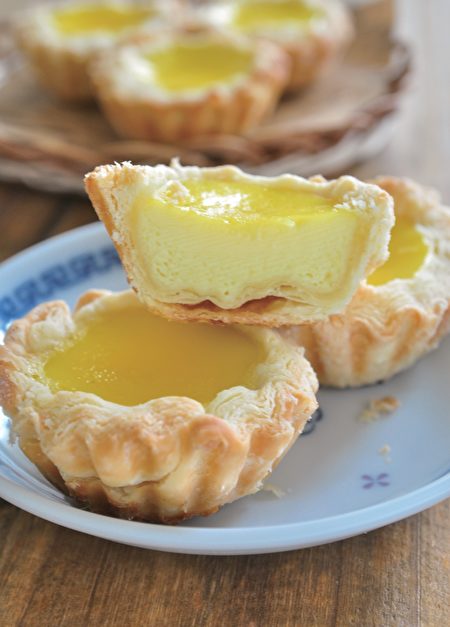
兩款蛋塔的內餡皆類似廣式傳統甜品中的「燉蛋」,由牛奶、雞蛋及糖混合而成,表面光滑如鏡面,口感滑嫩,這就是港式蛋塔的獨特迷人之處。
「一件蛋塔加一杯奶茶」,這是香港茶餐廳中標準的下午茶,蛋塔甜香誘人,入口又鬆又滑,搭配香濃奶茶,實在是完美組合。
材料(份量:約 8 個,直徑 7cm菊花塔模)
【酥皮】
a. 油皮
中筋麵粉100g
糖粉30g
雞蛋1 個(淨重約50g)
無鹽奶油(室溫)30g
b. 油酥
低筋麵粉100g
無鹽奶油(室溫)60g
【蛋塔液】
雞蛋4 個(淨重約200g)
細砂糖45g
煉乳25g
牛奶110g
作法
製作酥皮
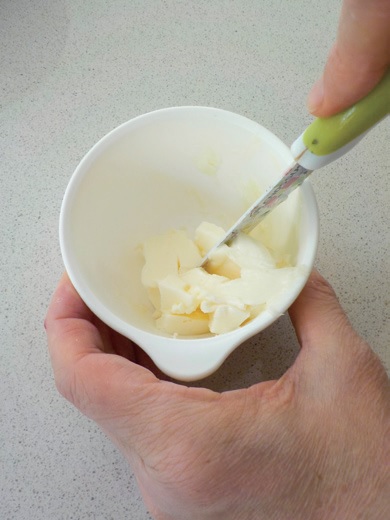
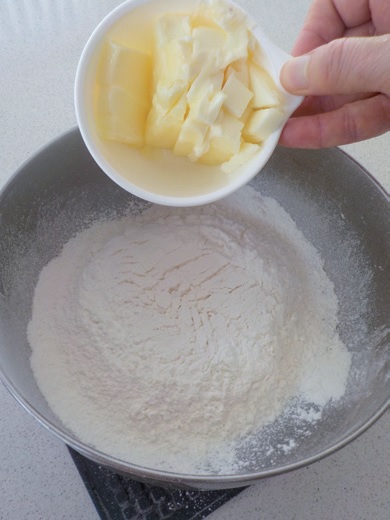
1.無鹽奶油切小塊,回復室溫。
2. 將a 油皮材料的糖粉、雞蛋及無鹽奶油加入中筋麵粉中。
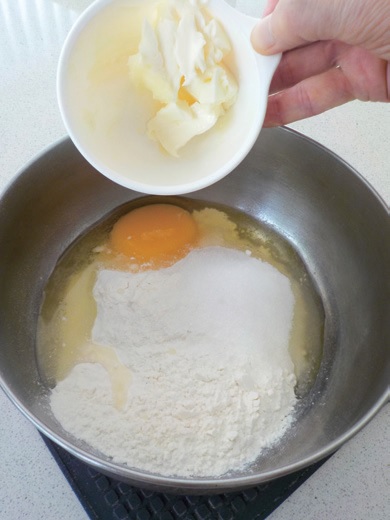
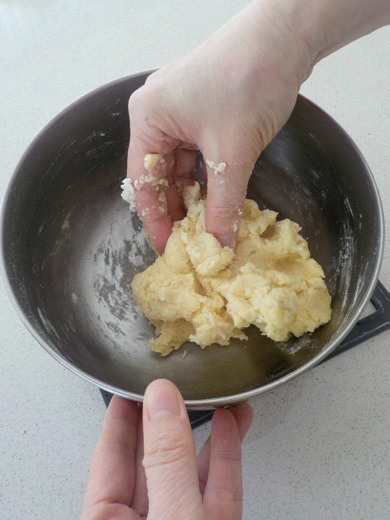
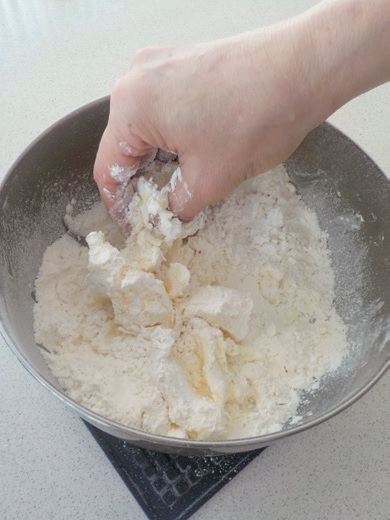
3.用手混合均勻成團。
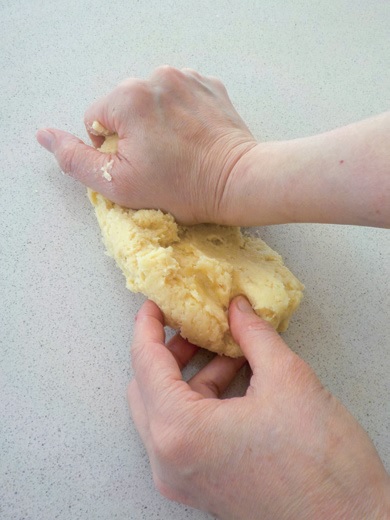
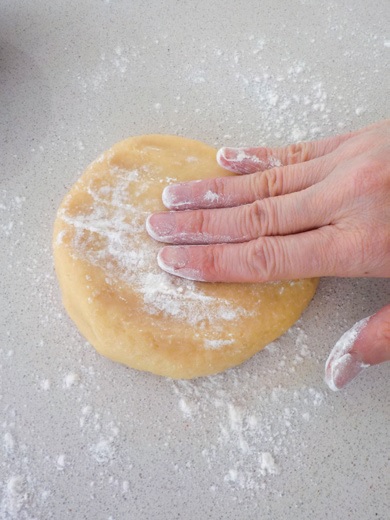
4.移至桌面搓揉5~6分鐘至光滑均勻。
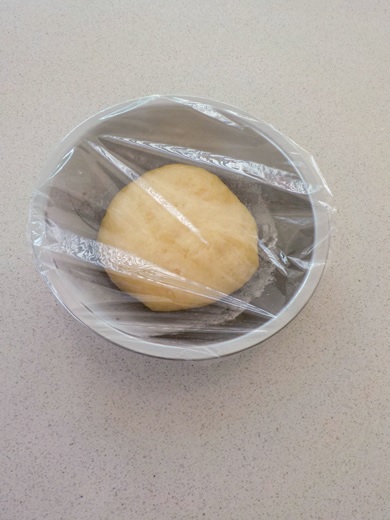
5.密封麵團醒置30-40分鐘。
6.將b 油酥材料無鹽奶油加入低筋麵粉中。
7.用手慢慢將奶油及麵粉捏合成為一個均勻團狀(不需要搓揉過久, 避免麵粉出筋影響口感),密封好放冰箱,備用。

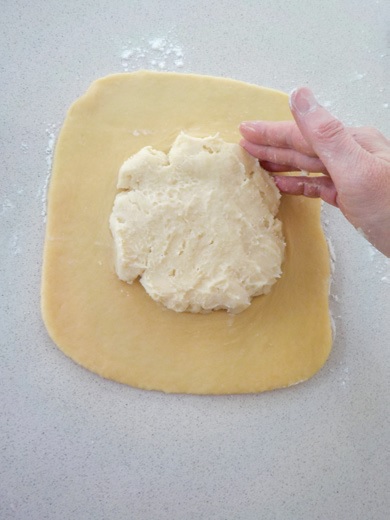
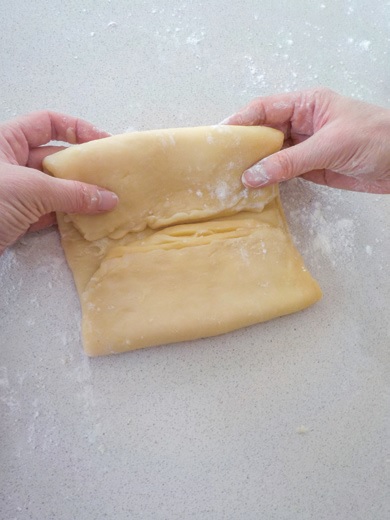
8.在工作桌及醒製好的酥皮麵團表面撒上少許中筋麵粉,擀開成為正方形,中間放上略整成方形的油酥麵團。
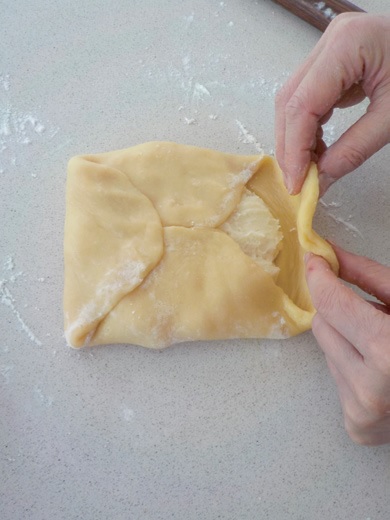
9.四周的油皮麵皮往中間折包住油酥,收口捏緊。

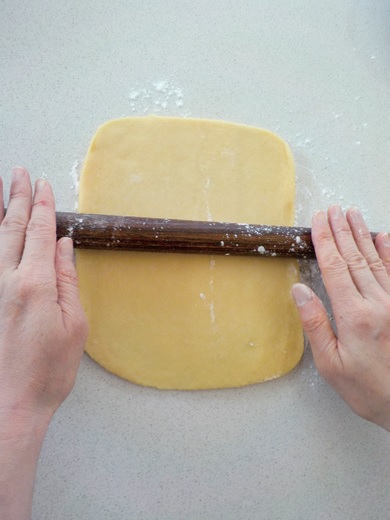
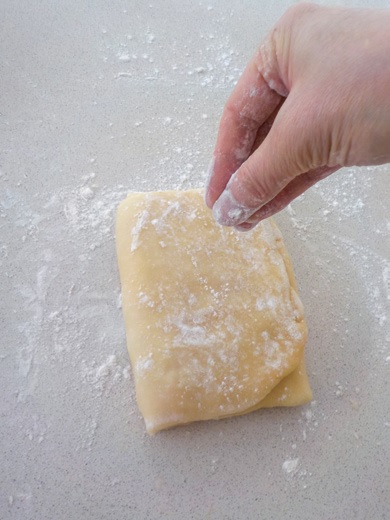
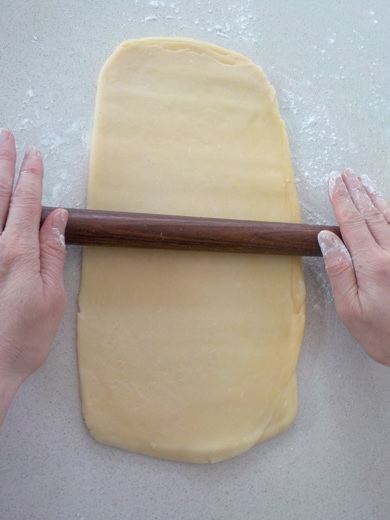
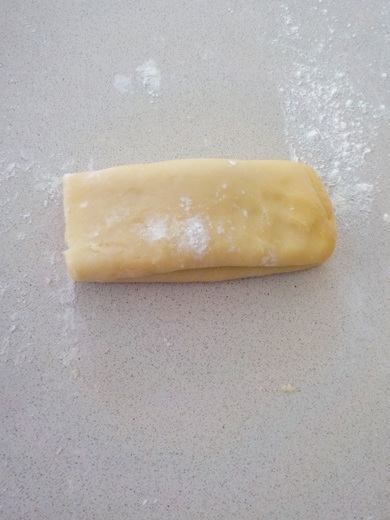
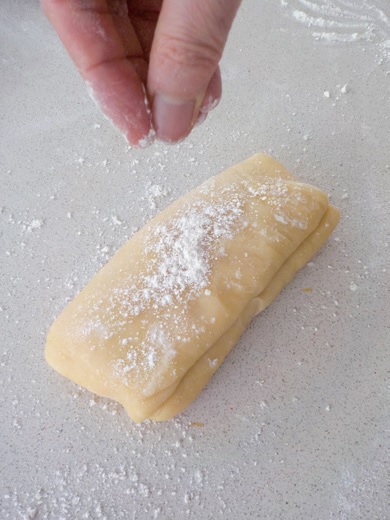
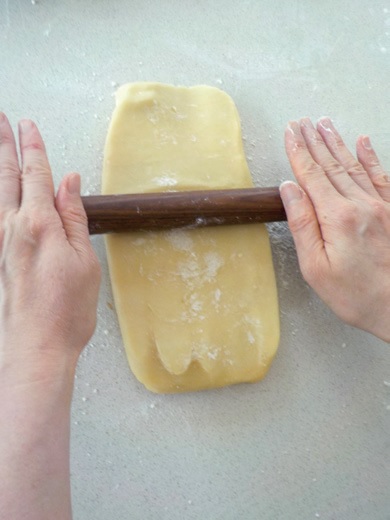
10.工作桌及麵團表面撒上少許中筋麵粉,擀成長方形然後折三折。
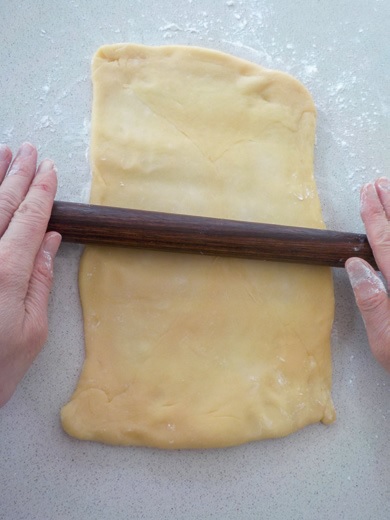
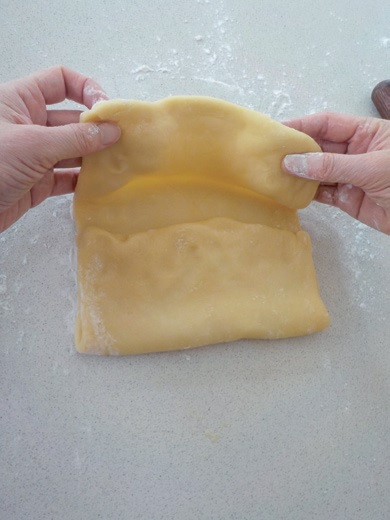
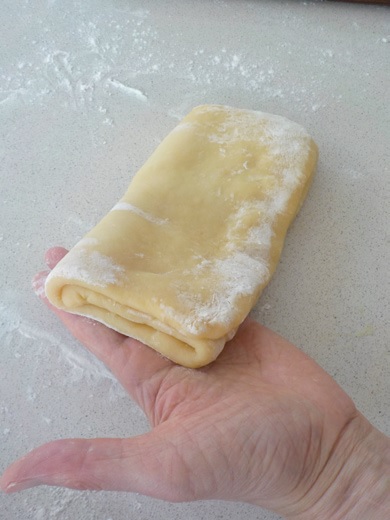
11.麵皮轉90 度,再度擀開成為長方形,然後折三折。


12.麵皮再轉90 度,再度擀開成為長方形,然後折三折。
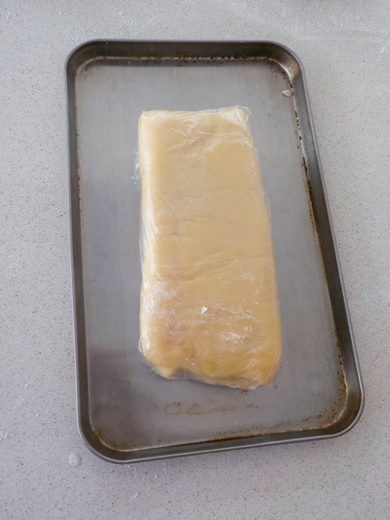
13.用保鮮膜包覆麵皮, 放冰箱冷藏30 分鐘。
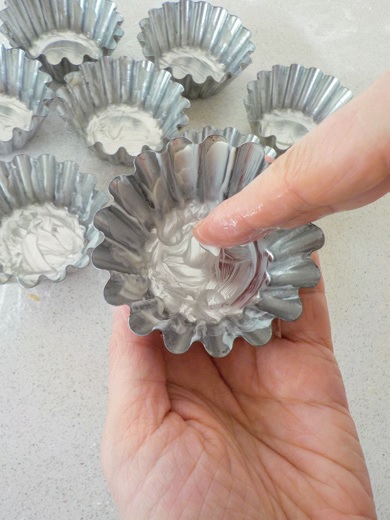
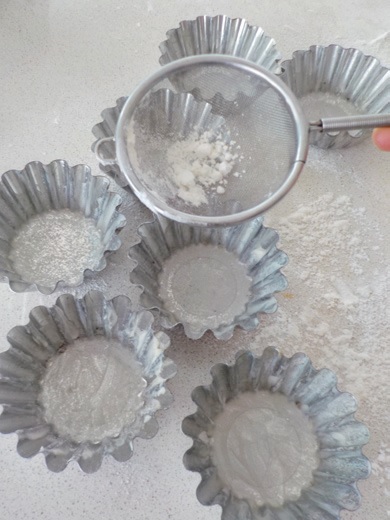
14.菊花塔模塗抹一層無鹽奶油,然後撒上一層低筋麵粉,將多餘麵粉倒掉。
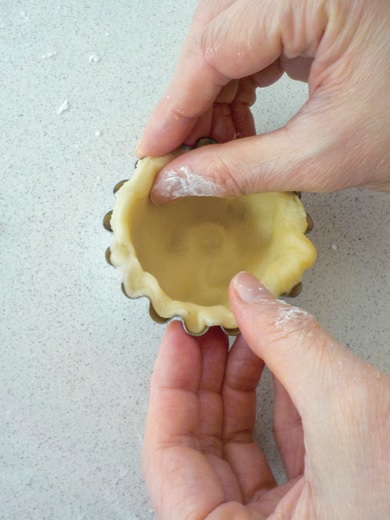
15.取出麵皮,表面撒上少許低筋麵粉,擀開成為40*30cm 薄片。
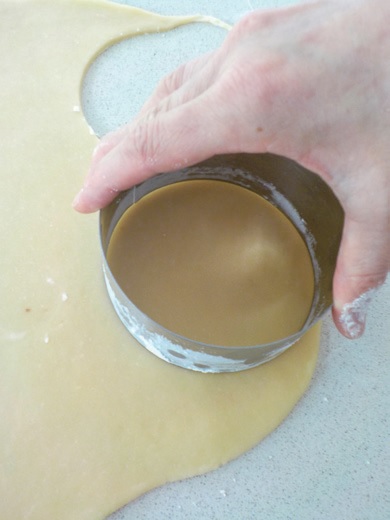
16.用直徑約8cm 的餅乾模壓出8 個圓片。
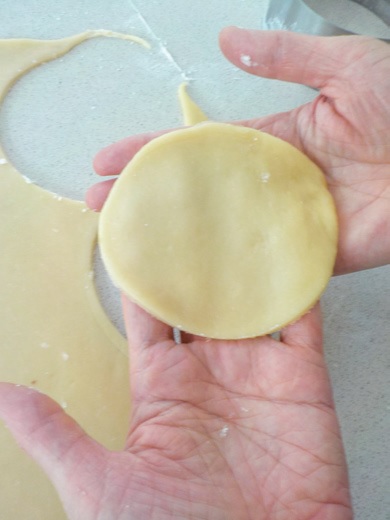
17.每個圓片壓入塔模中,讓麵皮貼緊塔模,邊緣稍微捏至高出塔模邊緣少許,然後放冰箱冷藏,備用。

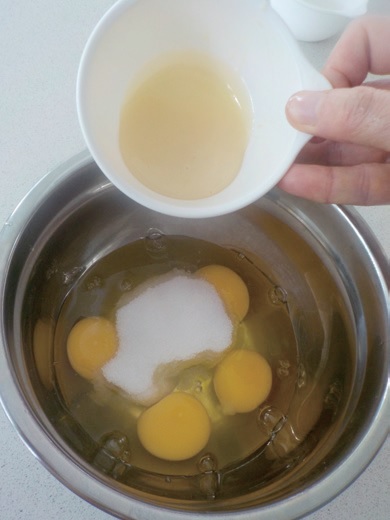
製作蛋塔液
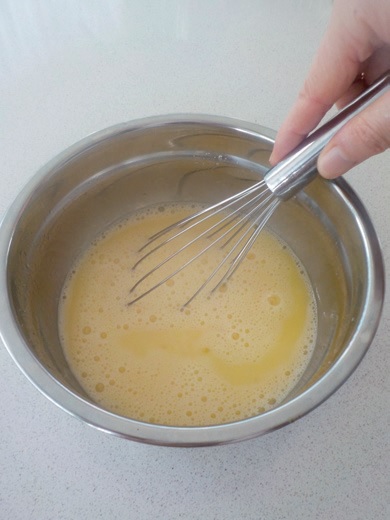
18.將細砂糖及煉乳加入雞蛋中攪拌均勻。
19.加入牛奶攪拌均勻,用篩網過濾。
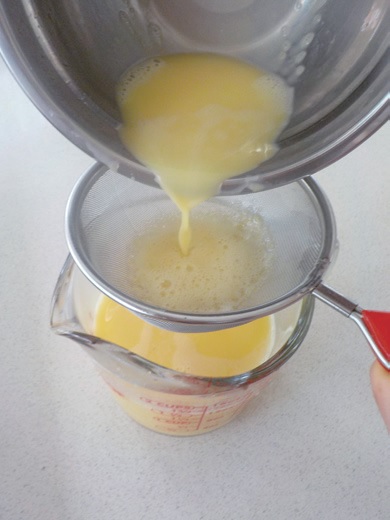
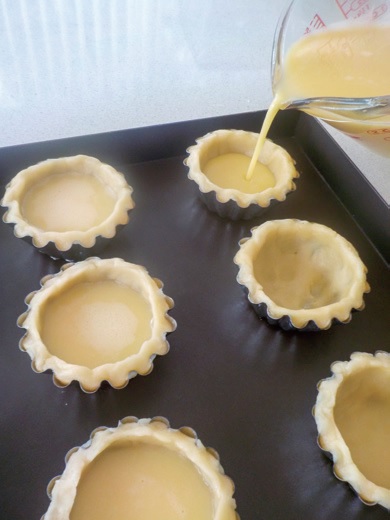
20.蛋液倒入塔模中約8 分滿。
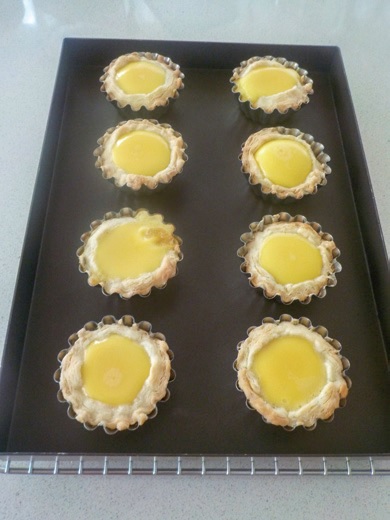
21.放入已經預熱至190 度C 的烤箱中, 烘烤16-18分鐘至蛋液凝固。
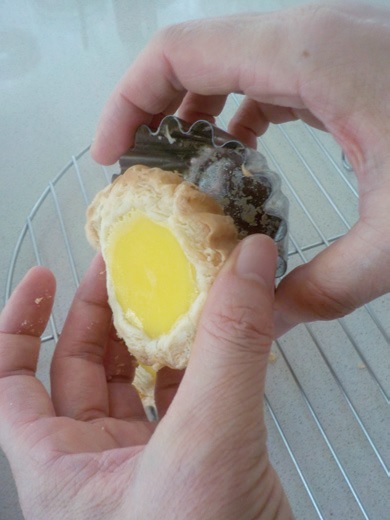
22.冷卻後倒出塔模即可。
(網站專文)
<本文摘自《Carol的世界烘焙地圖:到不了的地方,就用甜點吧!》,幸福文化出版社提供>