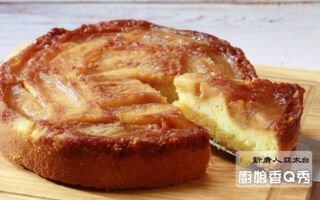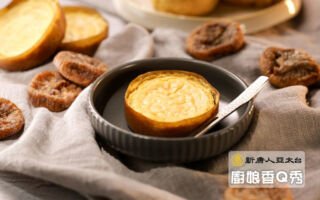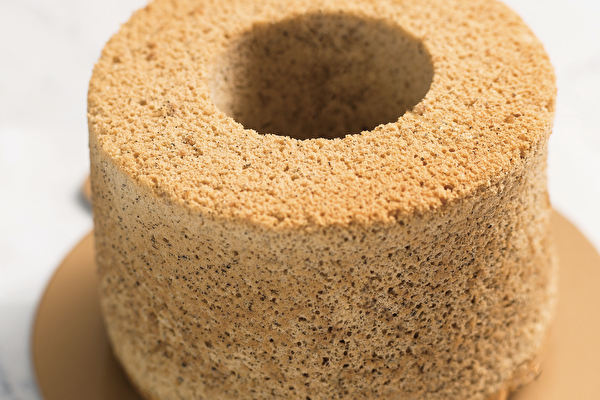
【小編按】「戚風蛋糕」從裡到外都是柔軟蓬鬆的口感,大人小孩都喜歡。下面介紹的食譜來自獲得多項婚禮蛋糕比賽金、銀牌的甜點師謝明瑾,她介紹的這一款蛋糕擁有伯爵紅茶的香氣,微甜不膩,單純搭配茶飲和咖啡就絕配。而且詳細的烘培圖文,讓您無壓力就學會,成品只要妝點一些鮮奶油、水果看起來就很有質感。
伯爵紅茶戚風蛋糕
份量
6吋中空天使紙模1個
烤溫
上火170℃/下火150℃
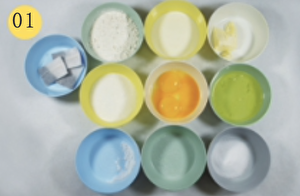
材料
A
牛奶84g
伯爵紅茶茶包3包
無鹽奶油(切小塊)42g
蛋黃63g
海藻糖14g
低筋麵粉98g
泡打粉1.5g
B
蛋白147g
鹽1.5g
細砂糖70g
作法
01. 材料秤量完成,無鹽奶油放室溫待軟。
02. 牛奶以小火加熱至微溫。
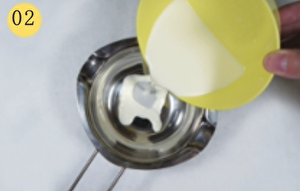
03. 剪開2包伯爵紅茶茶包,再倒入作法02。
04. 另外1包伯爵紅茶包直接泡於作法03。
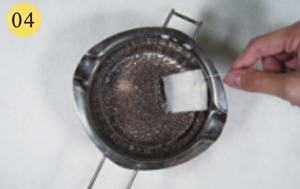
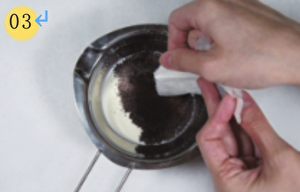
05. 繼續小火加熱,煮至茶味飄出。
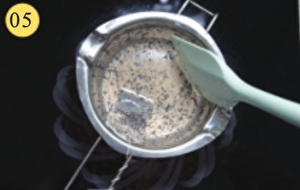
06. 再加入奶油,攪拌至融化後關火,取出茶包。
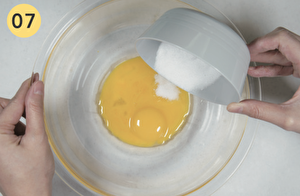
07. 蛋黃、海藻糖倒入攪拌盆,用打蛋器攪拌至糖溶解。
08. 再倒入作法06紅茶奶油,混合拌勻。
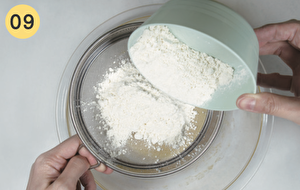
09. 接著加入過篩的低筋麵粉及泡打粉,繼續拌勻即為蛋黃糊。
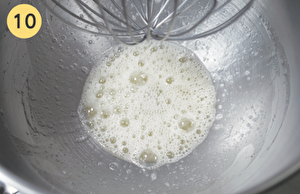
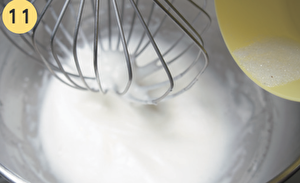
10. 蛋白以球狀攪拌器打至起泡,加入鹽、2/3的細砂糖。
11. 攪拌至整體呈白色細緻的泡泡,再加入剩餘1/3的細砂糖。
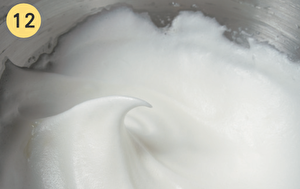
12. 打發至濕性發泡(7分發),即蛋白霜呈挺立的彎鉤狀。
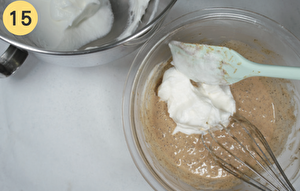
13. 取1/3的蛋白糊放入作法09的蛋黃糊。
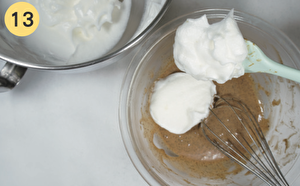
14. 以打蛋器輕輕攪拌均勻。
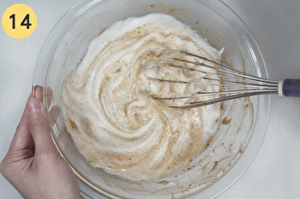
15. 再拌入1/3的蛋白糊,換橡皮刮刀輕輕拌勻。
16. 將混合的蛋白蛋黃糊倒回剩餘的蛋白糊中,用橡皮刮刀輕輕拌勻。
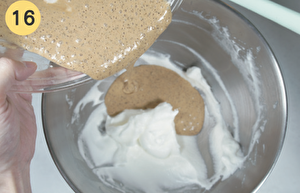
17. 確認沒有沉澱的蛋黃糊,再倒入中空天使紙模。

18. 放入烤箱,先上火170℃/下火150℃烤20分鐘至上色。
19. 轉上下火150℃續烤10~15分鐘至熟(手輕摸蛋糕表面有彈性)。
20. 重敲後倒扣於耐熱冷卻架,待涼即撕除紙模。⊙
本文摘自:《在家也能做夢幻擠花點心:從基礎到進階全圖解,快速學會3種糕體1種塔皮╳12款實用花嘴╳35款奶油霜花卉造型╳48道絕美點心,新手擠花不失敗!》,橘子文化提供。⊙
· 愛上造型戚風蛋糕 博士全職媽媽創意收不住
· 烘焙點心:北海道戚風蛋糕
· 充滿童年懷舊情結的冰淇淋蛋糕
發佈:2022-09-02 13:28 | 修改:2022-09-02 13:28